Paint adds charm, but it doesn’t correct what’s underneath. Flaws hidden behind the finish—like moisture buildup, rough patches, or failing materials—can quietly ruin a paint job before it even begins. Residential painters spend much of their time addressing these underlying problems, which are often missed by untrained eyes. 7 common problems residential painters fix that lower paint longevity range from neglected surface prep to subtle environmental issues that quietly damage your walls over time.
This rundown looks at how these problems affect both interior and exterior spaces, and why ignoring them usually leads to costly rework. Ponderosa Painting puts it simply: “Skipping prep is like building on sand—it may look good today, but it won’t hold up tomorrow.”
1. Bumpy Surfaces Distort Paint Texture
Walls don’t always reveal their flaws until the paint goes on. Light bouncing off small imperfections like scratches, nail bulges, or uneven drywall can make even fresh paint look off. Professional residential painters rely on both visual checks and hand-feel to locate and fix these subtle problems.
They use a mix of patching compounds, sanding blocks, and flatness gauges to level out walls before painting. A smooth base makes the difference between a wall that looks clean and one that exposes every defect under natural light.
-
Minor texture variations become highly visible with eggshell or satin finishes
-
Flat wall surfaces help paint spread more predictably
-
Fixing flaws before painting reduces the need for multiple touch-ups
2. Damp Spots Compromise Adhesion
Water damage may not always drip or stain. A musty smell, warped trim, or soft drywall can all signal moisture lurking beneath the surface. Residential painters are trained to spot these signs and know painting over them only delays the inevitable.
They check for hidden leaks using moisture meters and look for water entry points around windows, plumbing, and ceilings. Repairs often include sealing stains, applying moisture-blocking primers, or even replacing drywall in severe cases.
-
Persistent moisture causes paint to peel, bubble, or discolor
-
EPA guidelines recommend mold-safe practices in damp zones
-
Bathrooms and basements are the most common trouble areas
3. Cracked Paint Leads to Early Flaking
Older layers of paint don’t always create a stable base. Cracks, chips, and rough edges can all weaken the new coat’s ability to stick. Residential painters examine these surfaces carefully, testing how well existing paint bonds to the substrate.
They scrape away peeling sections, sand rough edges, and sometimes use stabilizing primers to lock down what’s left. If the paint underneath isn’t sound, anything above it is destined to fail sooner.
-
Cracked or peeling paint often signals deeper adhesion problems
-
Surface prep increases longevity by giving new paint a firm base
-
Primer helps unify surfaces after repair and sanding
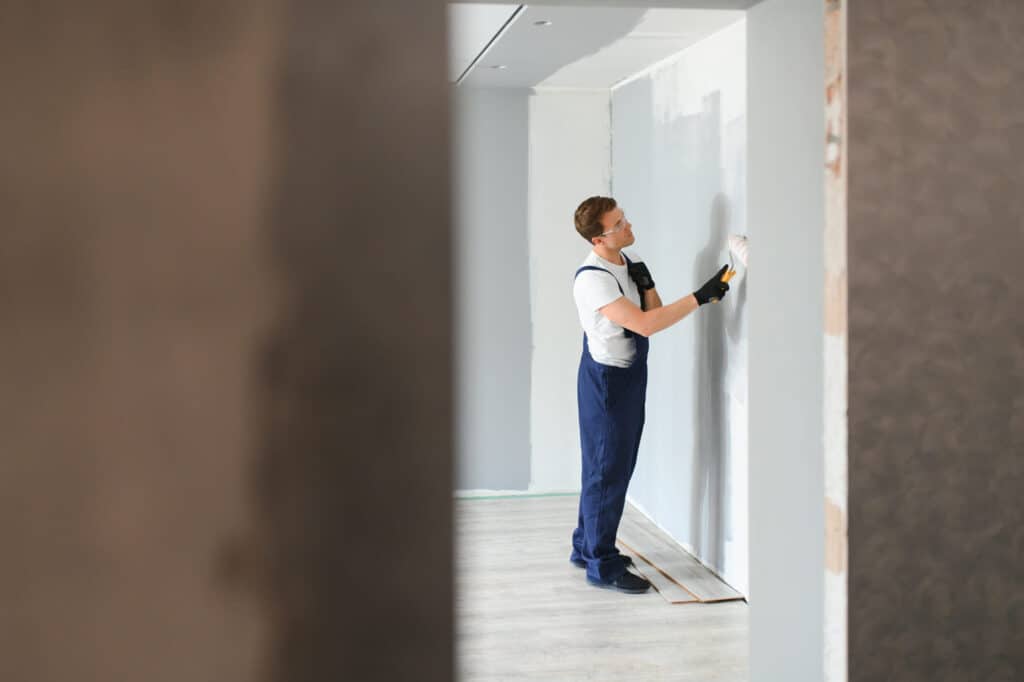
4. Dirty Walls Reduce Paint Grip
Household grime can cling invisibly to walls. Grease from cooking, residue from candles, and layers of dust build up over time, especially in corners and around vents. Residential painters treat cleaning as a critical first step—not just a courtesy.
They degrease, rinse, and sometimes abrade surfaces to ensure the new paint connects directly to the wall, not to whatever’s sitting on top of it. This step can be especially important near stoves, light switches, and trimwork.
-
Dirty walls cause paint to slide, bubble, or develop poor coverage
-
Strong cleaners like TSP remove surface oils that basic soap can’t
-
Prepping high-traffic areas often requires extra attention and rinsing
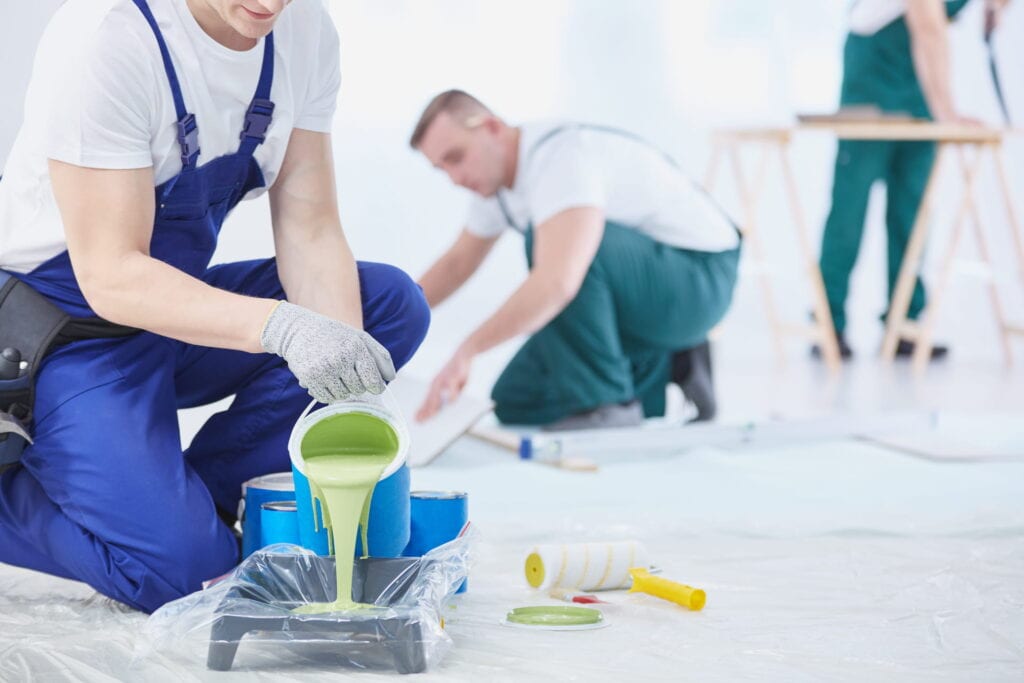
5. Mismatched Paint Types Cause Peeling
Not all paints are compatible. Latex and oil-based paints require different preparation, and applying one over the other without the proper barrier leads to separation. Most homeowners don’t know which type is on their walls—but residential painters do.
They perform simple spot tests to identify the old paint. If it’s oil-based, they sand or prime with a special bonding agent before adding new layers. Skipping this check is a common reason paint peels prematurely.
-
Oil-based paint still appears in many homes, especially on trim and doors
-
Bonding primers ensure new coats adhere across incompatible surfaces
-
Surface type and sheen both affect paint compatibility
6. Gaps in Trim Make Lines Look Rough
Trim expands and contracts throughout the year. Over time, joints open up and gaps appear between the wall and the molding. If left unfilled, these breaks cause shadows, trap dust, and ruin the clean lines people expect from a professional finish.
Residential painters seal these spaces with durable, flexible caulks designed to last through seasonal changes. By smoothing these areas before painting, they create sharper, more consistent edges.
-
Caulked trim improves the look and performance of the paint
-
Filling joints prevents cracks from reopening later
-
Sealing also helps block airflow and dust infiltration
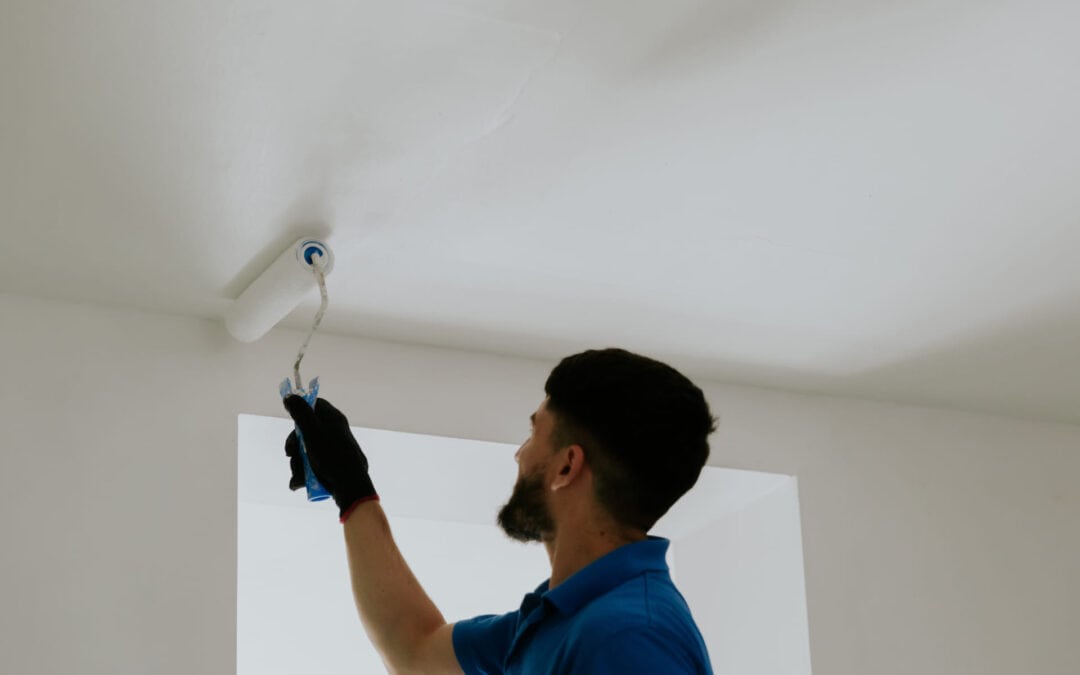
7. Poor Indoor Conditions Affect Dry Time
Painting indoors may seem climate-proof, but temperature and humidity still play a huge role. If the room is too humid, paint dries slowly and may attract dust or sag. If it’s too hot, it can dry too fast and crack.
Residential painters monitor room conditions using thermometers and humidity gauges. When needed, they adjust with fans, heaters, or by waiting for the space to stabilize. These small tweaks prevent bigger problems later.
-
Paint dries best between 50°F and 85°F with humidity below 60%
-
Fast drying can cause lap marks and poor leveling
-
Slow drying can lead to tacky surfaces and inconsistent sheen
Why Early Repairs Lead to Better Paint Outcomes
Paint only performs as well as the surface it’s applied to. That means problems like weak drywall, dirty trim, or incompatible coatings must be addressed before the brush ever moves. Residential painters don’t just aim for color—they aim for permanence.
Ponderosa Painting spends a considerable amount of time repairing what others might miss. The result is a finish that doesn’t just look good at first—but still holds up years later, through moisture, traffic, and seasonal wear.
Key Takeaways on Common Paint Prep Problems Residential Painters Handle
-
Flat, clean walls ensure smooth, even paint distribution
-
Moisture must be addressed fully to avoid long-term damage
-
Peeling or cracked paint signals the need for deeper prep
-
Surface contamination must be removed—not painted over
-
Paint type and room climate both impact adhesion and finish
Frequently Asked Questions
Why is old paint sometimes removed before repainting?
Because flaking or unstable paint won’t support a new layer. Removing it creates a clean, stable surface.
Can I paint over stained or water-marked drywall?
Only after sealing the area. Stains often bleed through, and damaged drywall may need repair or replacement.
How do painters clean walls before painting?
They use degreasers, scuff sanders, and in some cases, rinse with clean water to remove any lingering residue.
Is bonding primer always necessary when repainting?
Not always. It’s used when switching paint types or painting over glossy surfaces to improve adhesion.
What causes paint to dry with streaks or uneven gloss?
Inconsistent drying, improper roller use, or humidity issues often lead to irregular finish quality.